Now you have created characters it’s time to practice drawing them! Knowing some basic anatomy and how your character should look proportionally can help make them look more natural and expressive. This can help you create different variations of the character in your comic.
Don’t worry about trying to know everything. Start with the basics and you can build up. Everyone’s initial drawings will probably look quite awkward and it’s completely normal.
1. Know Some Basic Anatomy
When you’re drawing your character you want to think about the anatomy. How do the body parts fit together? When bending how do the joints move? For example your elbows and knees are not as flexible as your shoulders and hips.
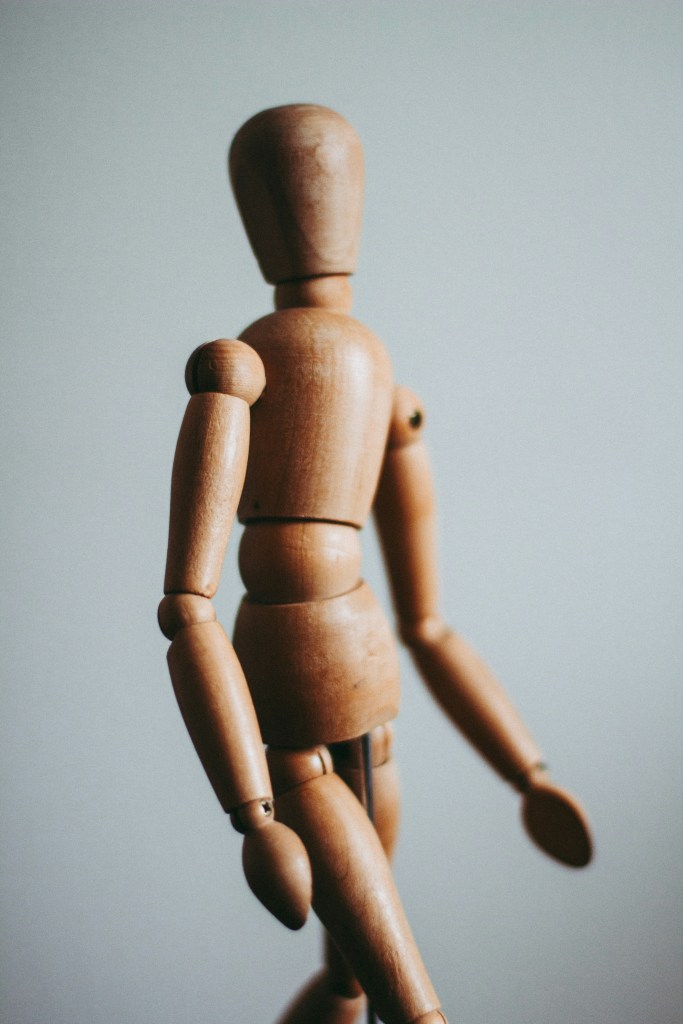
To help you I would recommend trying to break your character into simple shapes. Oval for the chest, rectangle for the hips, cylinders for your arms and legs.
Not all muscles need to be drawn. Try creating a simple body shape and just focus on making it work. Try drawing a simple figure without any clothing and add on clothes. This can help you avoid hiding any areas you’re unsure about with clothes.
“Talent is a pursued interest. Anything that you’re willing to practice, you can do.”
— Bob Ross
2. Know Proportions
Proportions are important when drawing. Think about the size of their head compared to their body, size of arms and legs. You can play around with proportions to help your character look young, tall or exaggerated.
An average size adult figure is approximately seven or eight heads tall. However, everyone is different and characters can be quite unrealistic.
Try to pick proportions that fit your character and stick to them. Draw light guidelines for where your characters shoulders, hips and knees are. Check if your character looks like the same character on your sheet.
3. Gesture Lines
Gesture lines are quick sketches. Try to spend 30 seconds to 2 minutes drawing a quick sketch of a person using flowing lines.
Start with a flowing line to show the main direction of the pose (also known as the line of action). This can be a flowing curve if they’re bending down, or long diagonal lines. Add your head, chest and hips.
Avoid adding extra detail such as fingers, hair or clothing. Try to do a few quick poses. This can help you get more relaxed and avoid stiff characters.
4. Make Poses Feel Natural
Think about everyday poses. How do people move? They often move their weight, bend their knees and lean their shoulders. They are rarely fully straight when standing.
Think about how they’re supported. If they’re leaning on one leg their hips and shoulders may lean. If they’re sitting their weight is on the seat and their body will adapt. This can help create a realistic pose.
Try to recreate the pose or take a photo. Think about where their weight is and if they’re comfortable in the pose. Start with simple poses and move on to more dynamic poses such as running, jumping and fighting.
5. Show Emotion Through the Body
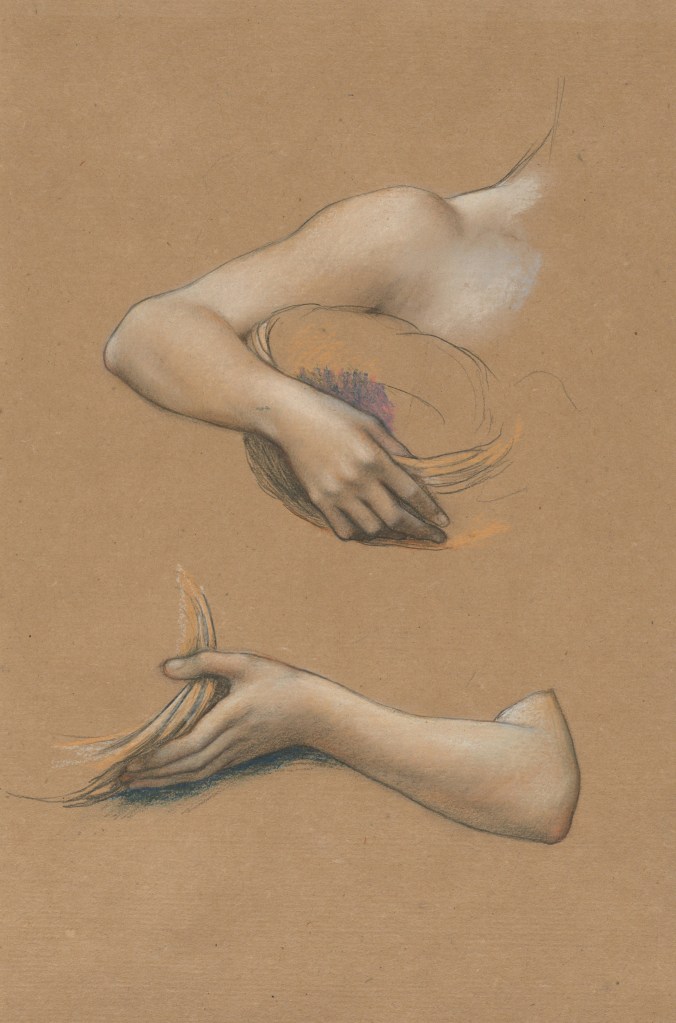
Bodies can be expressive! If your character is looking down and has slouched shoulders they may look sad. If they’re sitting up straight with their chin up they may look confident. Their hands and arms can also help.
Think about how your character would act. If they were nervous they may be pulling their sleeves and keeping their arms close. If they’re excited they may lean forwards and move more.
Create poses for your character showing they’re excited, nervous and tired. Start with simple facial features and see how much you can show through their posture. Add a facial expression to match your pose. This can help readers understand the emotion easier.
6. Practice With References
Using references such as photos, mirrors or photos of yourself in poses can help you. This can help you understand the shapes, angles and movements which can be hard to visualise. This is completely normal when learning.
Make sure you look at why the pose works. Where are their shoulders? How much is their torso leaning? What’s overlapping? Break your reference into simple shapes and note what you can learn. Apply this to your own character.
Try to focus on one thing each session so you’re not overwhelmed. Maybe focus on arms one day and sitting poses another. Date your sketches and come back to them. This can help you see improvements and what you can work on.
Final Thoughts
Drawing can take time to learn so don’t expect your sketches to be perfect. Keep practicing, using references and give yourself leeway to make mistakes. Every drawing you do will help you understand your characters a bit more!


Leave a Reply